So this post is something I did a year ago. I built this without any Adaptive tools. The blog wasn’t a thought yet, so I don’t have a lot of pictures of close ups of how I did things one handed. That said, I do think it’s worth posting to show you that working with your hands…. err hand… can still be done.
One thing to note; before I lost my arm, I was somewhat handy (Pun intended! LOL). So I already had a lot of the tools I talk about in this post. The investment in tools is somewhat significant, just so you know that going in.
So this project got it’s start with the purchase on my house (I closed just 8 months after my arm was ripped off, yes you can do this!) I’ve always had aquariums since I was a kid and I wanted an aquarium in my living room of my new house.
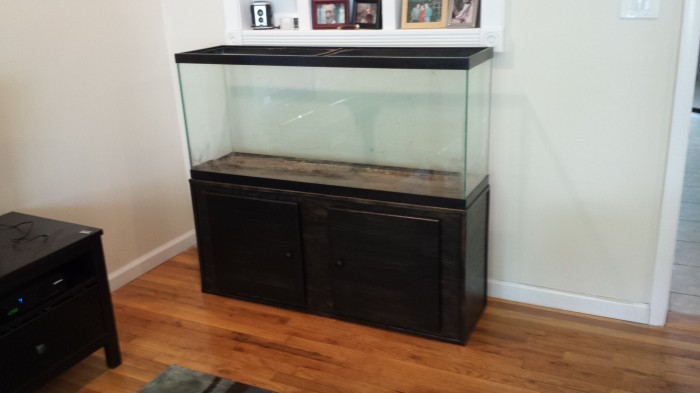
My new house has these built in shelves in the living room. but the bottom shelf was lower than the top of the tank when the tank was on a standard height tank stand. That means I had to build a custom stand to fit my needs.
Before I get in to the build, please note that this project involves power tools. These tools are designed for 2 armed freaks. Us one armed normal people, have to use them in a capacity that might not be as intended. THESE TOOLS ARE DANGEROUS! Use your BEST JUDGEMENT! Be careful, you and I can not afford any additional lost body parts! Think before you use the tools and for God’s sakes PAY ATTENTION TO WHAT YOU’RE DOING! Try this at YOUR OWN RISK!
End disclaimer…….
The start of the project was planning the build. I started by measuring the distance between the floor and the bottom of the shelf, then I subtracted the height of the tank and light fixture to give me the height of the stand. The depth and width were determined by the foot print of the tank.
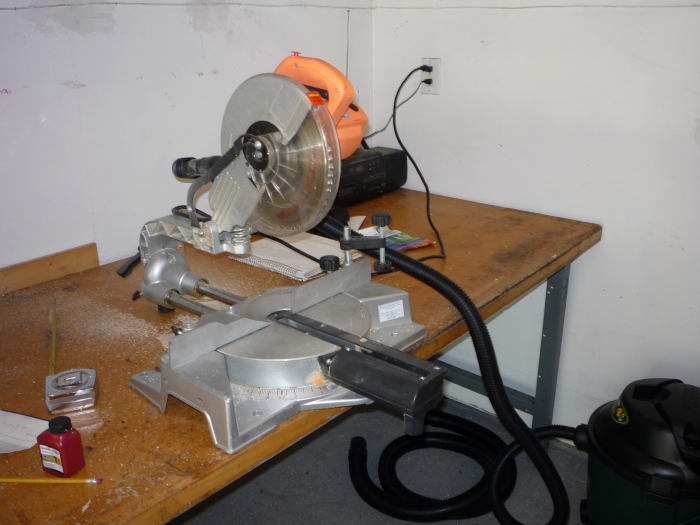
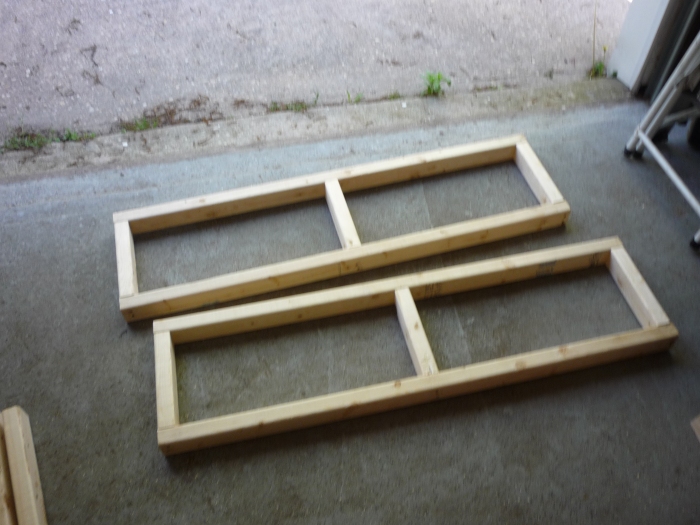
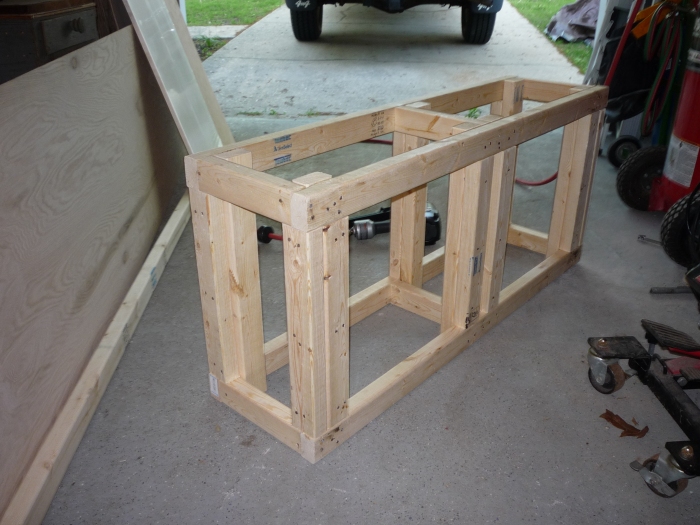
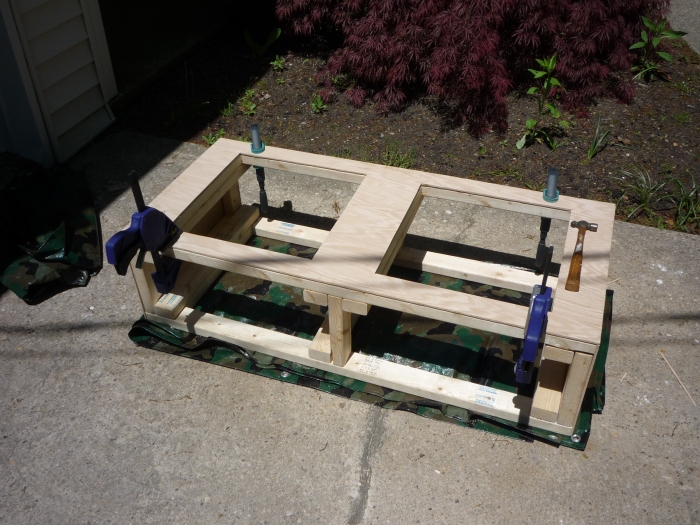
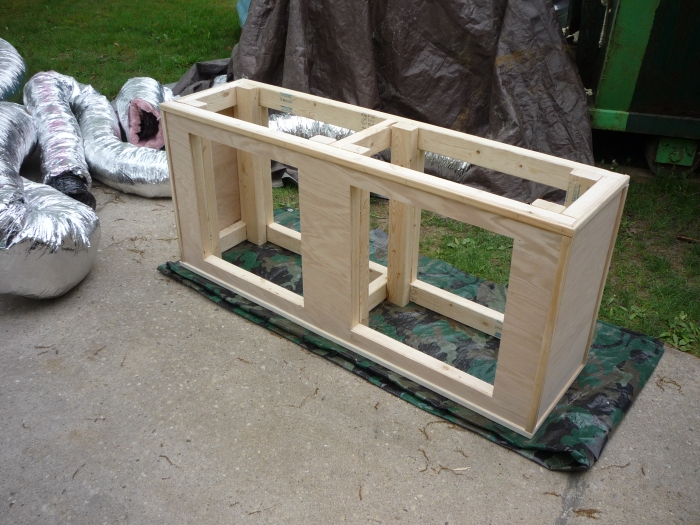
I started the build by building two rectangles who’s outside dimensions matched the outside dimensions of the footprint of the tank. I cut the 2×3’s I used with my compound mitre saw.
I then built the frames by camping the 2x3s together with right angle clamps.
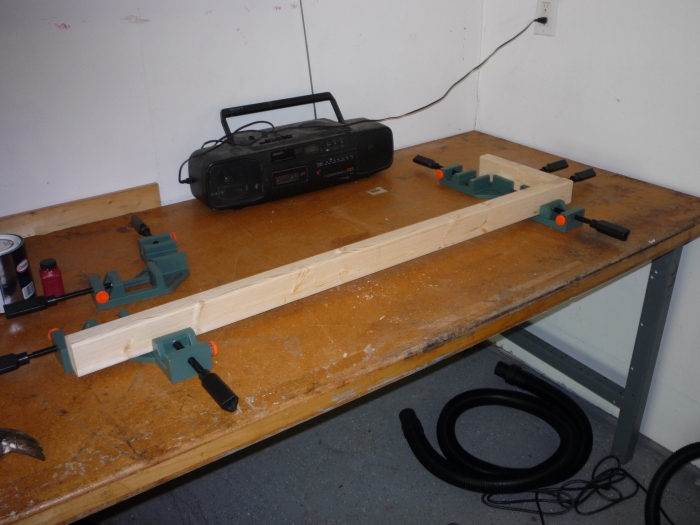
I nailed the frame together after getting the frame clamped with my pneumatic framing nailer.
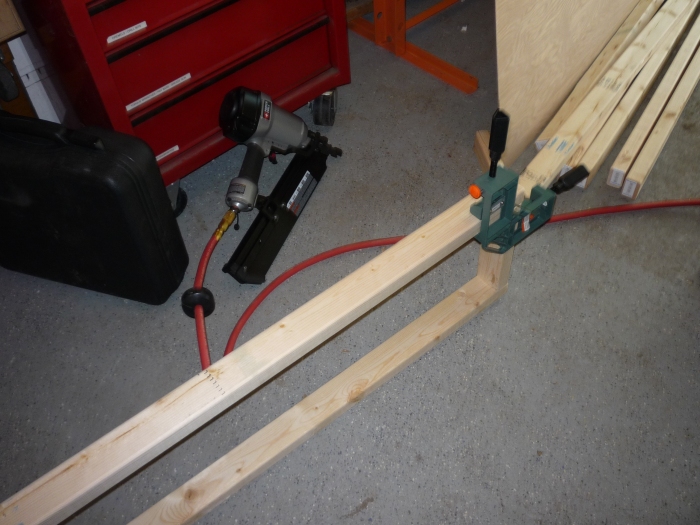
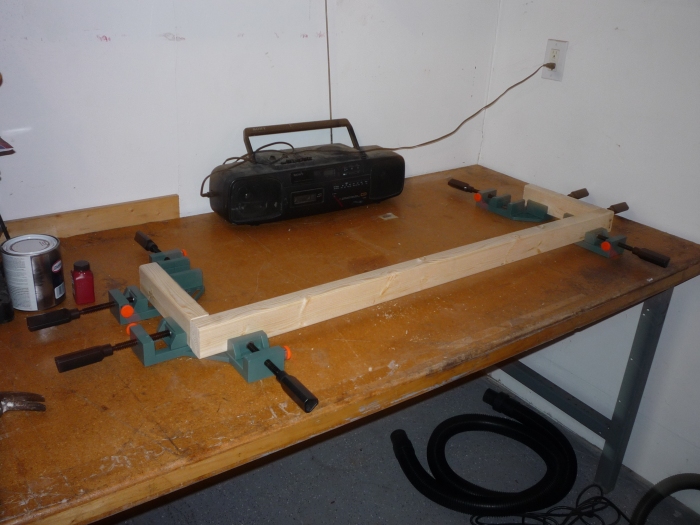
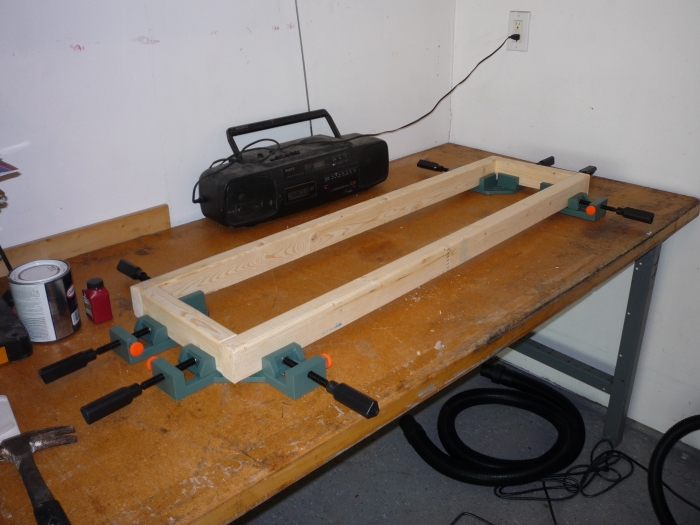
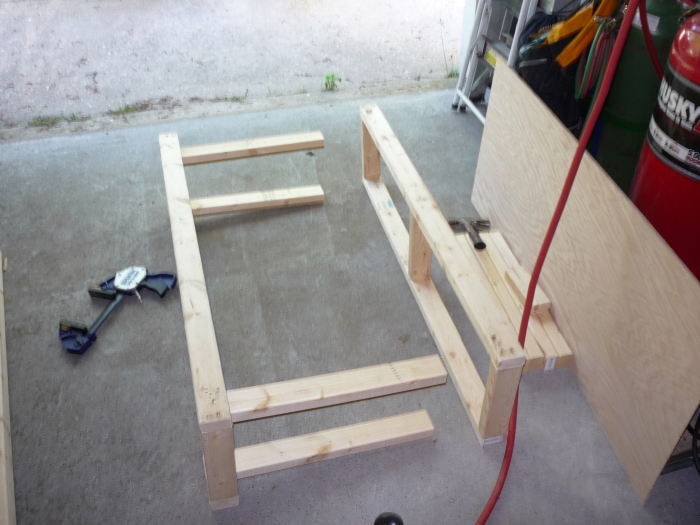
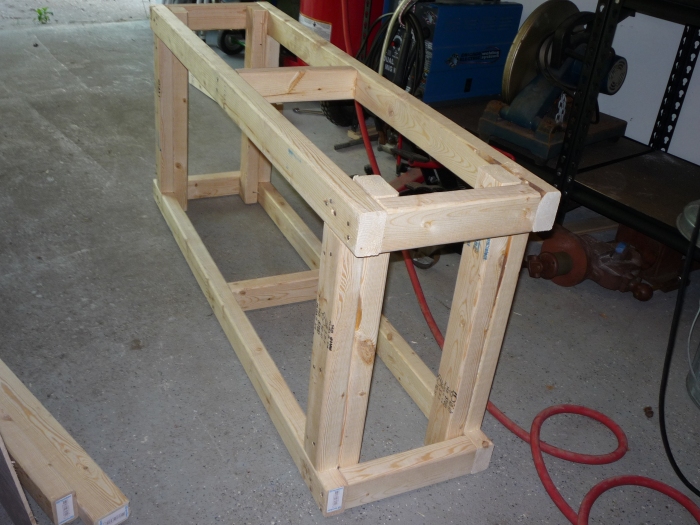
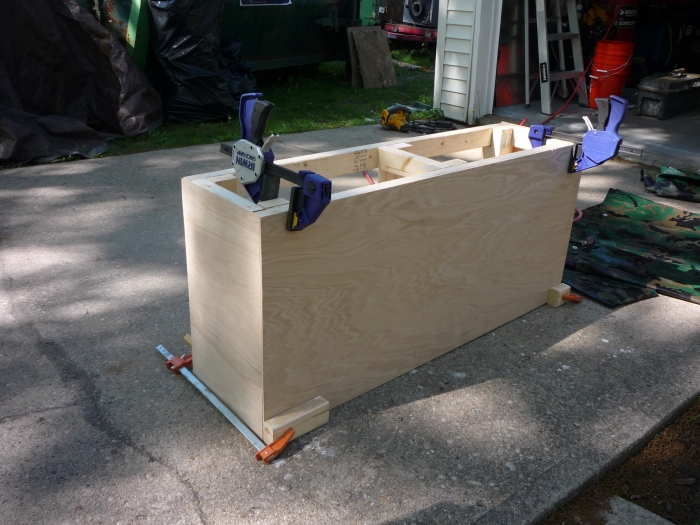
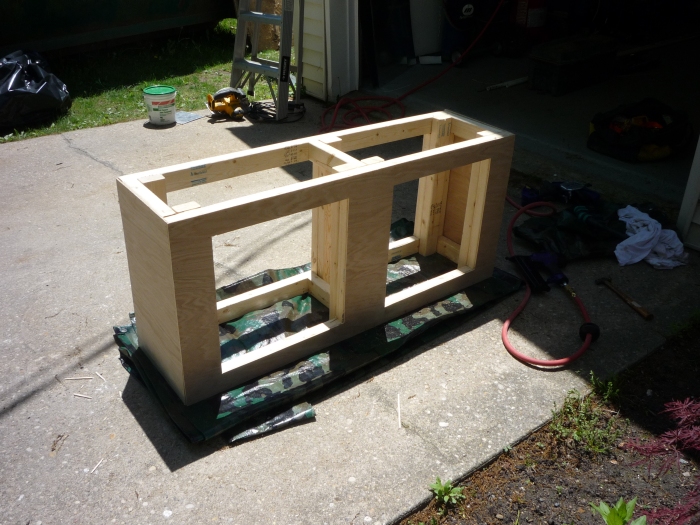
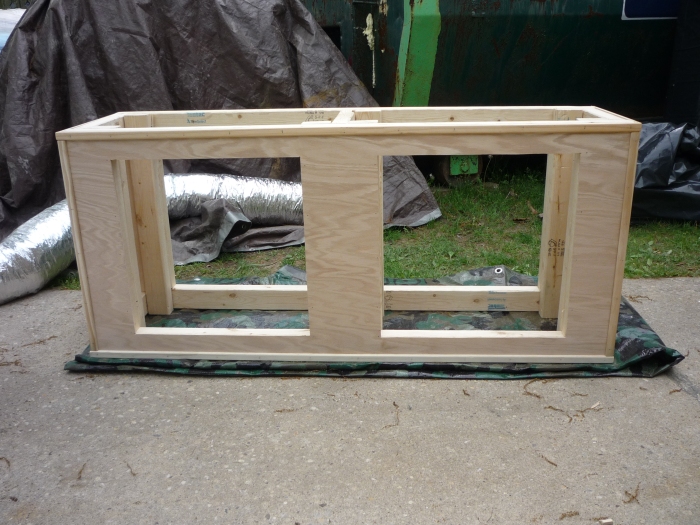
The next step is to to finish building the box that the frame of the stand. I do this by clamping and then using my pneumatic nailer. I use these Irwin One Handed Clamps. I got mine at Lowe’s. These clamps rock for an upper limb amputee and I use mine for a ton of tasks beyond aquarium stands, you will probably see these again.

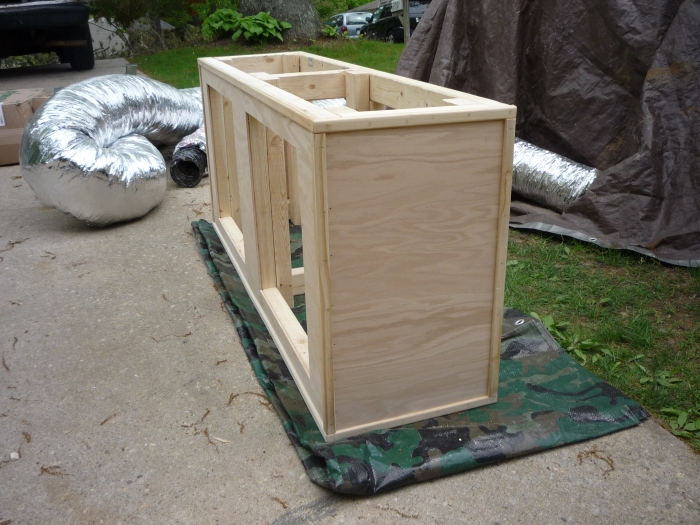
To skin the stand, I used melamine panelling. Also secured from Lowe’s. The trick with this was I already had my measurements. I had the dude at Lowe’s use the panel saw in the lumber department make my cuts. They made the sides and the front. (There is no back on my stand so the hoses and wires can pass) That machine will make a straighter cut in shorter time than even the most capable two armed freak of a carpenter!
I clamped the sides to my frame and then used my pneumatic finish nailer (I love air tools) to attach the panels.

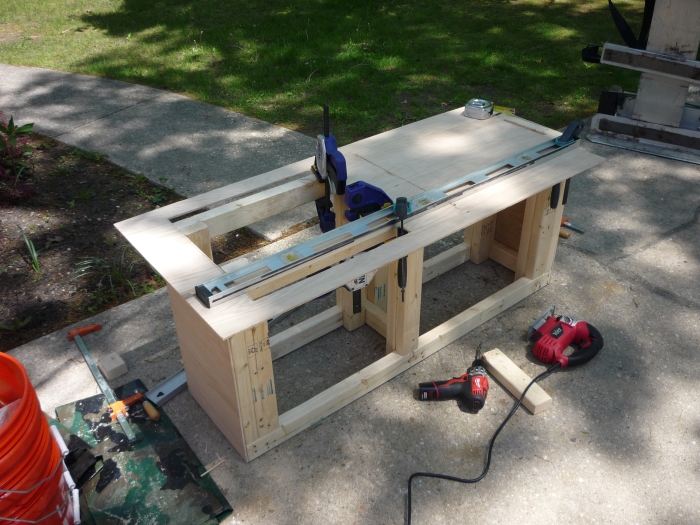
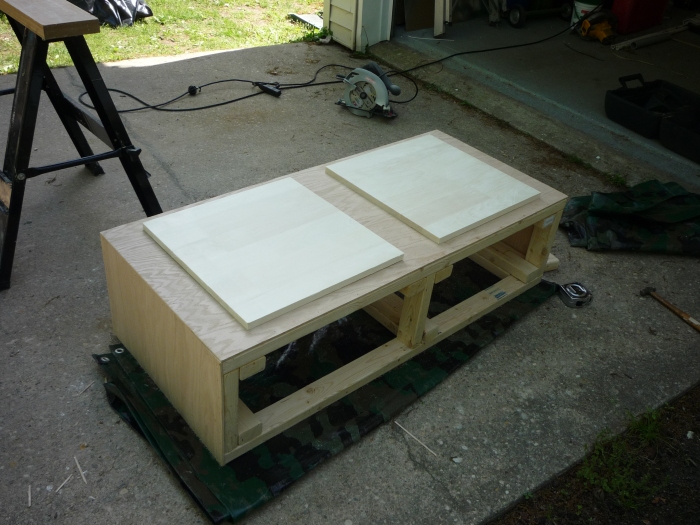
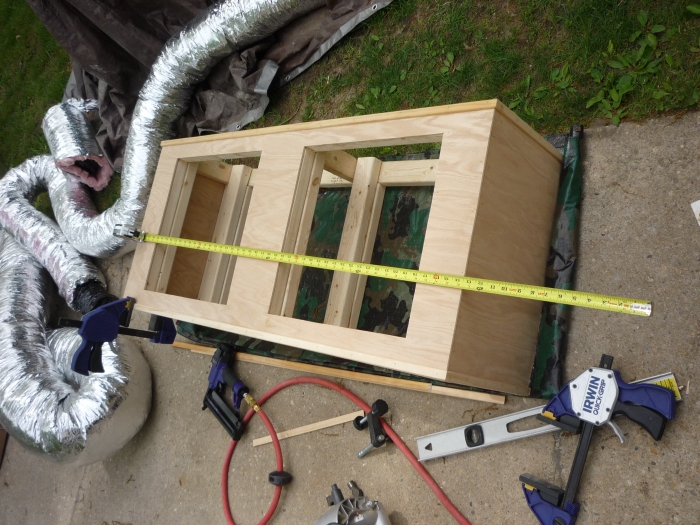
After attaching the sides I temporarily attached the front to measure for the cabinet door openings.
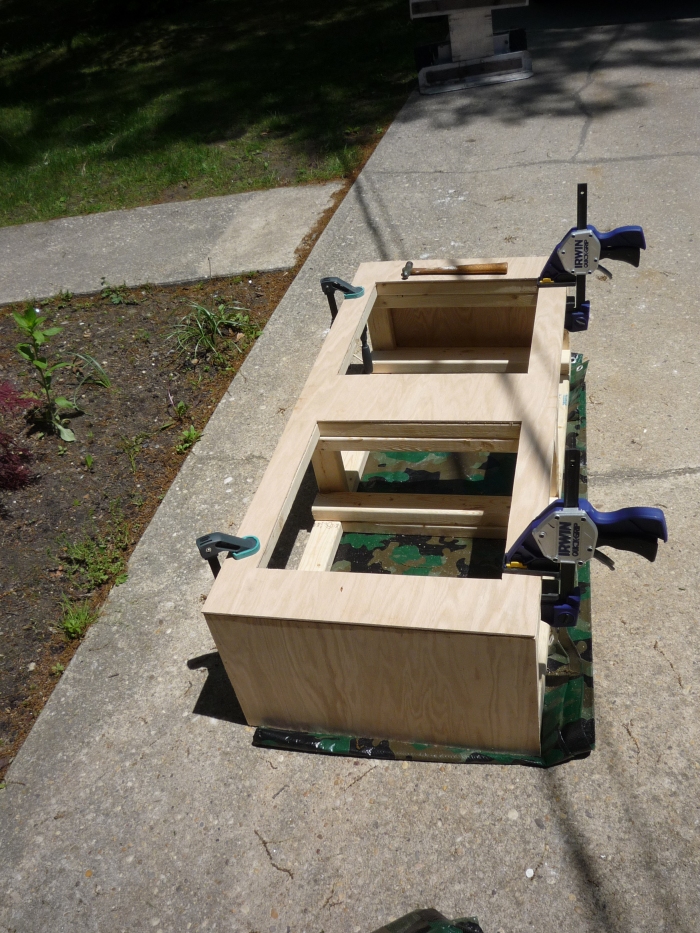
After measuring and marking, I clamped the top down and used my level as a saw guide. I used my drill to put a starter hole in and then used my jig saw to cut out the openings.
After cutting out the openings, I used the pneumatic finish nailer to attach it. See the small hammer, I used that to drive the nails flush to the surface of the fascia.
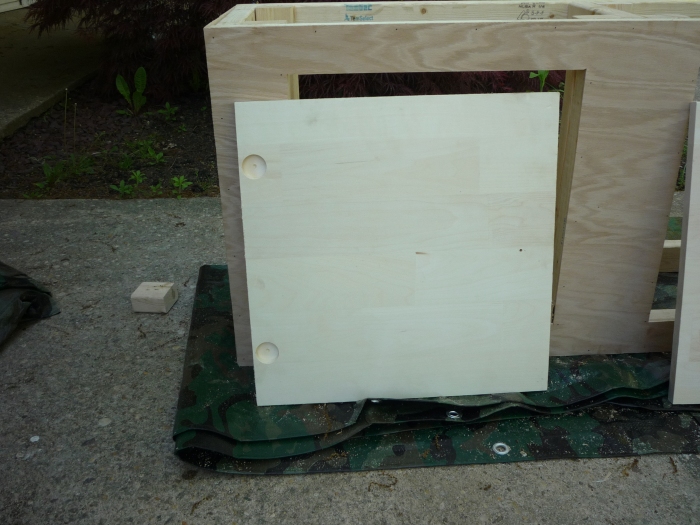
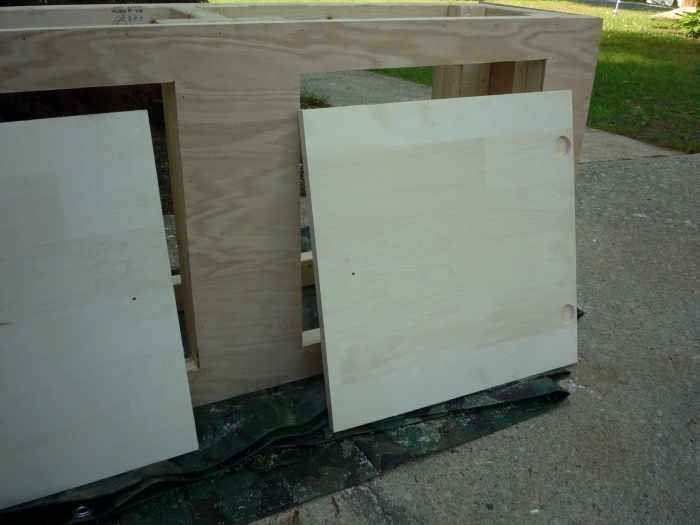
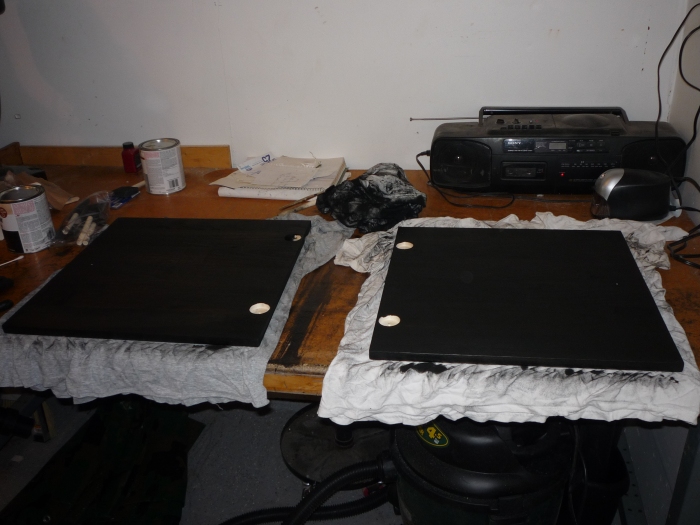
Next it was time to build the doors. I used pine panels and cut them so that they were 3/4’s of an inch bigger than the openings all the way around.
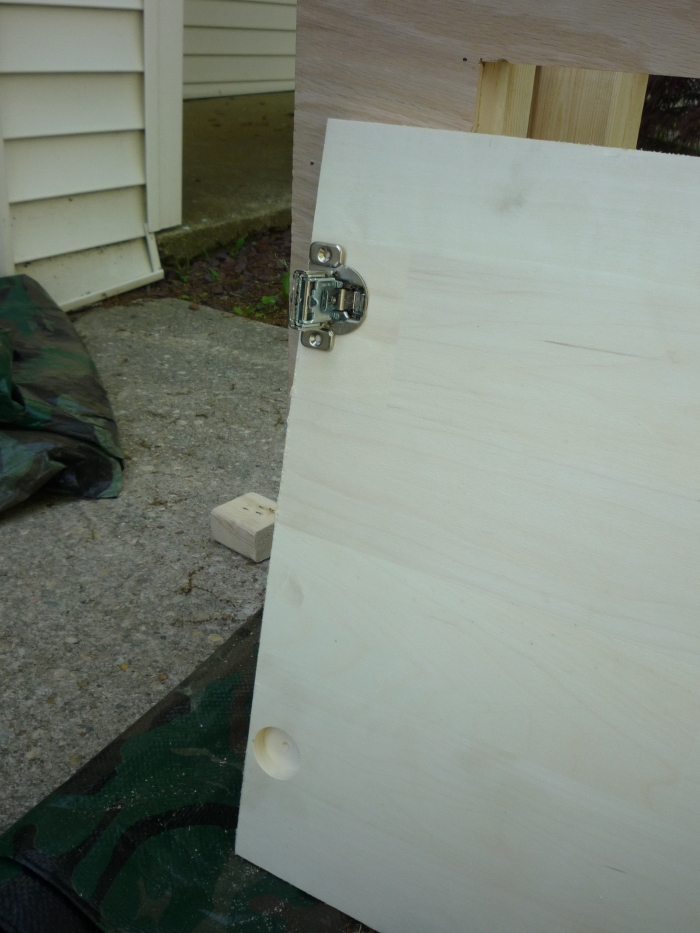
I then used a forstner drill bit in my table top drill press to cut the holes for the cabinet door hinges. I also drilled the holes for the door pulls at the same time.
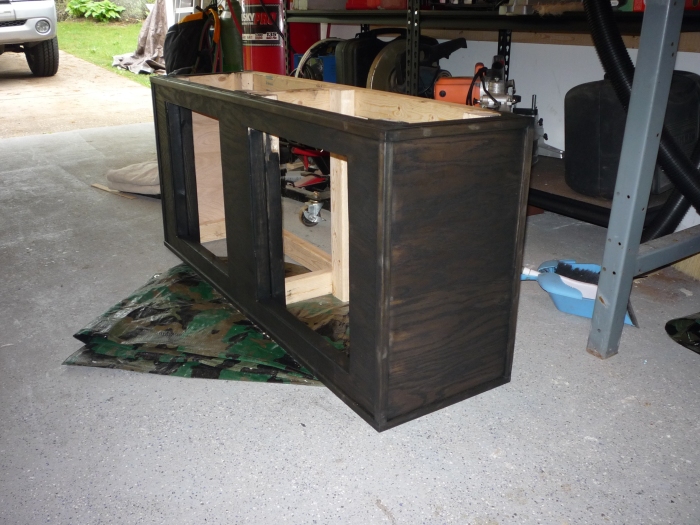
Next using moulding, my chop saw and clamps, I cut the moulding to finish the edges of the cabinet. I used my small pneumatic brad nailer to attach the moulding.

Next, I used my router with a round off bit on the edges of the doors. Note, this is particularly dangerous, a router is designed for two handers. I have more determination than sense, do this at your own risk!

Next I stained the cabinet ebony stain to match my furniture and afterwards coated it with polyurethane.
Then I assembled the doors, hinges, door pulls and fish tank in my living room.
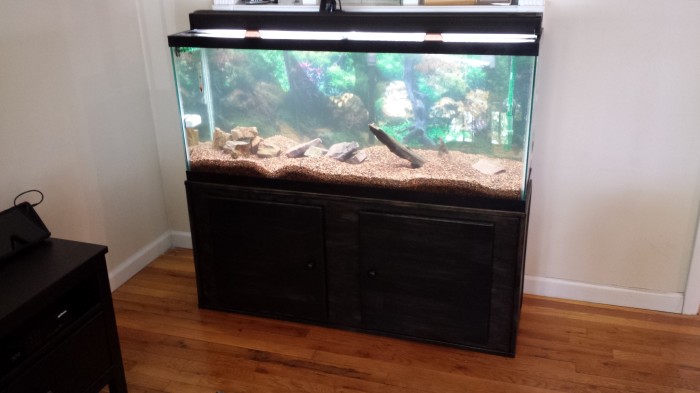
After a year establishment, here’s what it looks like in my living room.
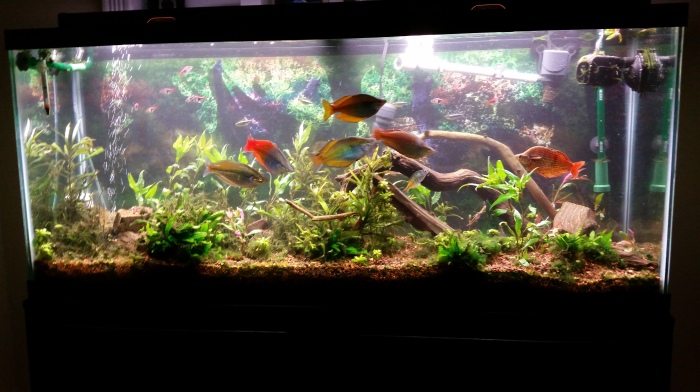
I built mine with one hand and ingenuity, you an do it too! Hell Yea!!!!!
