Cast Iron

Cast Iron

I love my cast iron pots.  I’ve you’ve never cooked with cast iron, you’re missing out.  The cast iron heats evenly and with a cast iron lid, holds the moisture in so you don’t dry out dinner.  They can be used on the stove, in the oven and even on a barbecue.

Cast iron cookware is often criticized for being heavy.  You know what, the critics are right.  It can be a pain to handle these pots, but it’s precisely this property that makes this an essential part of my kitchen tricks for amputee cooking.

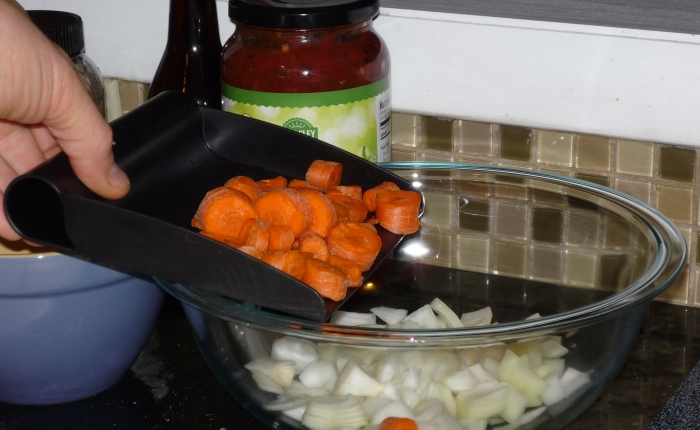
I know what you’re thinking “you only have one arm dumbass…  why not go with something lighter?”  Well…  Have you ever tried to stir something without holding the pot with one hand and stir with the other?  The pot spins as much as the food does, especially when you have a glass cook top like mine.

You see, its the weight of the cast iron cookware that helps the pot to stay put, when trying to stir dinner.

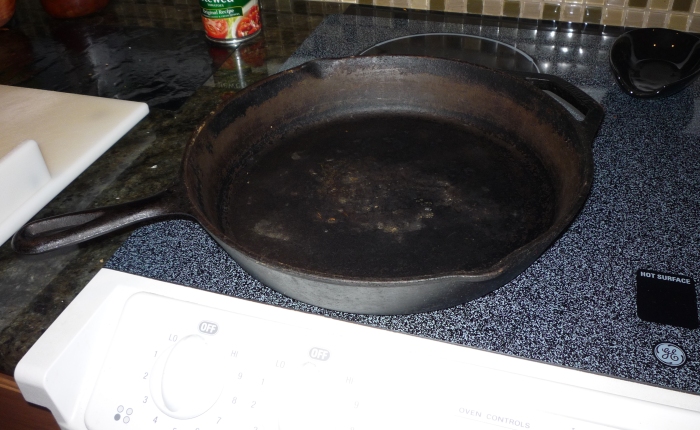
Cast iron comes in two varieties, the primary is raw cast iron, that may be pre seasoned, but is essentially, uncoated iron.  Here’s my large 12 inch skillet.  These aren’t too expensive and can be found at Walmart, Kmart and most stores that sell camping gear.  Usually, you’ll find the Lodge brand at these locations.  (Bonus they’re made in the USA!)

P1000916

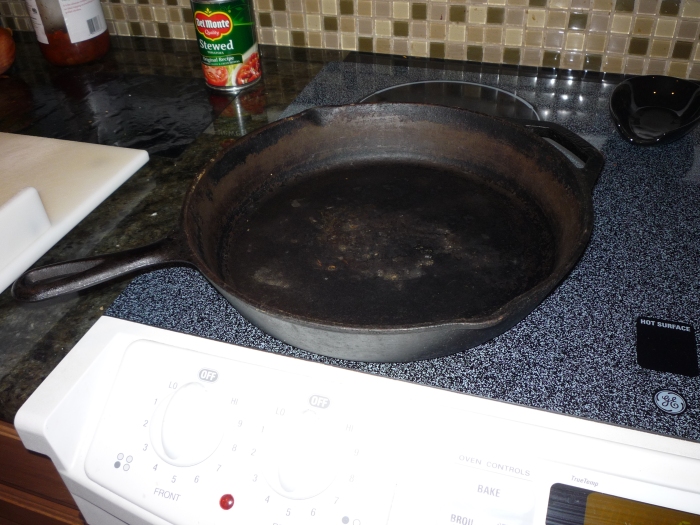
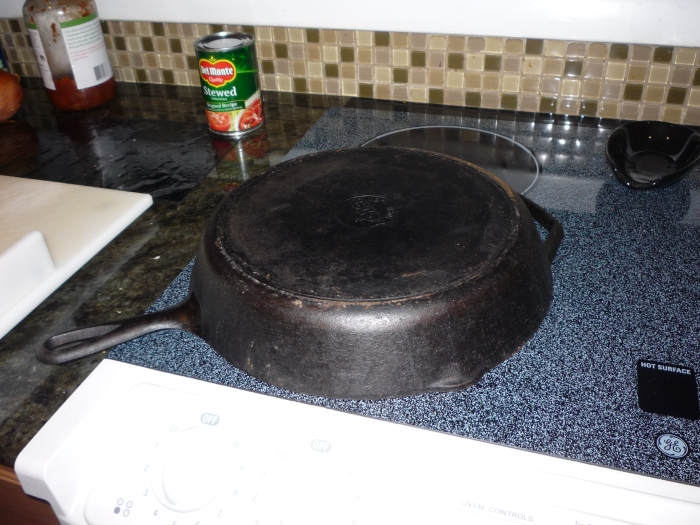
One thing to look for, for an amputee cook, is a pot that is flat on the bottom.  I have an older Lodge 10 inch deep fryer that I don’t use often because it has a ridge on the bottom.  The flat bottom, having more surface contact with the cook top, increases friction and so it doesn’t slide when I stir.  Conversely the ridge on the fryer, having less surface contact will still slide around when stirring is required.

P1000917

Of course the raw cast iron pots do require different care methods than a coated pot.  There are many tutorials online for caring and seasoning this cookware.  If proper care is maintained, these pots are no harder to maintain than the coated variety or the other materials pots are normally mad out of.

Here’s the care page on the Lodge website.  Disclaimer: I’m not an employee or paid spokes person, I just like their products and employing American workers.

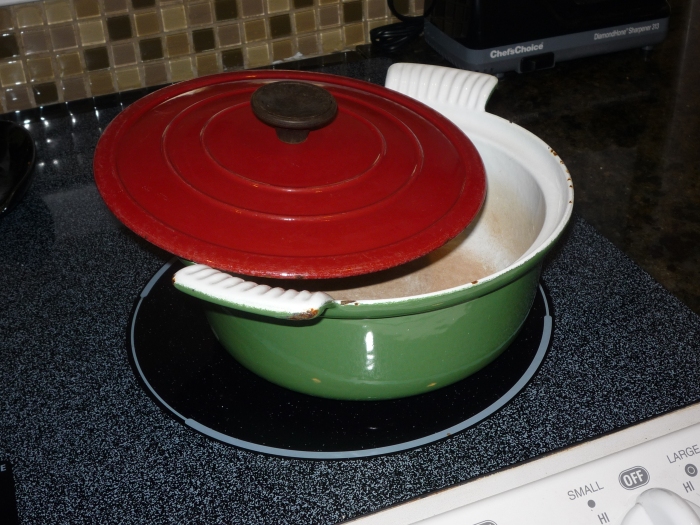
If raw cast iron isn’t your speed, cast iron comes coated in enamel.  This is a considerably more expensive option if you’re buying new cookware.

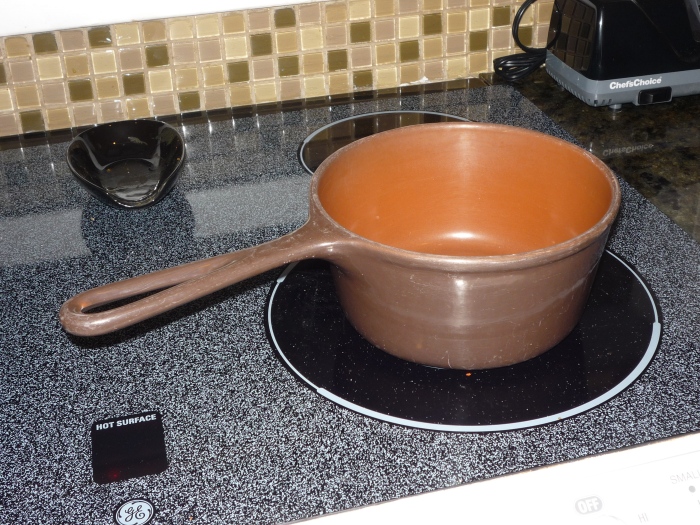
I have some enamel cast iron too.  I got mine second hand.  Sometimes these can be found at garage sales and I’ve fond them on Ebay too.  Just beware they’re heavy so if you buy from Ebay shipping will cost you.  Here’s a small sauce pan and another covered pot I have.  I’m not particular so I got a deal since the lids were mismatched.

P1000951

P1000952

To show you how much the heavy cast iron helps, here’s a short video of me making breakfast.  PS don’t mind the escaped pepper…


Scooper Do-hickey

Scooper Do-hickey

This is just a quick bonus post.

So I was making some dinner this weekend and using my one handed cutting board that I discussed in a previous post.  I was chopping carrots.

Small pieces of cut carrots can be fast little buggers when you’re trying pick them up.  I find my self chasing them around often and even a few escape.  Although those that escape me never make it past my back-up defence…  My dog Lola….  Suffice it to say, she likes when I use carrots..

Anyway, I forgot I had this little scooper do-hickey.  I think I bought this at Bed Bath and Beyond.  Being a dude, I love gadgets and being an amputee, I’m always looking for ones that might help.  So I bought this tool while there one day.

Anyway, it’s just a little plastic scooper.  I’ve had these before but they’ve usually just been a flat piece of stainless steel or plastic.  What I like about this one is that it has sides, which help to keep those little buggers from getting away.

P1000958

From an amputee perspective, using this with the little sandwich walls on my cutting board allows me to pick up larger quantities of chopped veggies than I could with one hand.  This speeds up the food prep process.

I wanted to show you guys this, because it’s also another way that I use the adaptive cutting board.

P1000959


Pants Buttons

Pants Buttons

After the wreck, I had to figure out how to get dressed on my own.  This and the next two posts will be about dealing with that.

So after my hospital stay, I ended up in a Rehab facility.  While there I had Occupational Therapy.   While the OT therapists were good, they didn’t have much experience with an Arm Amputee. And why should they?  80% Of upper extremity amputations are just fingers and even then upper extremities only account for 5.4% of all amputations.  (These numbers come from the Amputee Coalition numbers for New York which is where I live and the wreck happened.. At the time of this writing, I’m not in anyway affiliated with the Amputee Coalition) Due to their lack of experience, they weren’t able to effectively teach me techniques for day to day living without my arm. So I had to use my strongest muscle, the one between my ears.

Let’s get started..

When I was in rehab, OT  got me these button tools.  They’re a wire loop on a handle that allow you to guide the button in the hole. They work, but they are accessibility tools, as I’ve mentioned in other posts, I try to avoid accessibility tools when I can. If you forget to bring it on vacation, you’re screwed.  Also it’s one more thing you have to bring and when you travel by motorcycle, like me, the less crap you bring the better!

I also found that they get hung up on the button making them difficult to work with and more importantly, I found I don’t need them.

P1000913

Let me show you how I button up.  I use two different techniques, one for my pants and one for my shirts.  Since I put my pants on first, I’ll start there.  I’ll document the technique for shirts in a second post.

In the pictures, I’m wearing loose fitting jeans to make taking pictures easier.  I also suggest you learn this technique with loose fitting clothes as it’ll be easier to learn.  Once you get the hang of it you can go back to wearing your skinny jeans. (I hate to see her leave, but I love to watch her go…)

I start by putting my middle finger through the button hole.

P1000887

Then pull the hole side of the pants to the button side, with my middle finger and grab the button side with my thumb and index finger.

P1000888

Now using your middle finger, find the bottom of the button.

P1000889

Next you’ll use your middle finger as a guide by tipping the bottom of the button up with your middle finger that’s still in the button hole.

P1000891

Then using your Ring Finger and your Index finger, push the button hole side of the pants down over the button.

P1000892

At this point the button is at a 45 degree angle and almost all the way through the hole, to hammer it home, just press down on the bottom of the button with your middle finger and upward angle on the thumb, while still holding the hole side with your index and ring fingers.  This rotates the button from 45 degrees to 90 degrees perpendicular to the floor and pushes it the rest of the way through the hole.

P1000893

P1000894

Here’s the video of it in action:

About

About

Hi!  Thanks for stopping by! This page is intended to share tips and techniques that I’ve personally came up with in order to live my life as an amputee.  I’m posting them here in the hopes that they may help others too.  And maybe along the way some of you could teach me a thing or two.

I intend to post as I can, sometimes you you may find tons of new stuff and other times…. well crickets…

When I lost my arm, I found myself in Occupational Therapy.  The therapists weren’t used to having to deal with  arm amps, since there aren’t many of us.  So I’ve had to be inventive along the way.  Also, I try not to use “adaptive” tools when ever possible.  The reason is that there’s always a hardware store, supermarket, variety store, etc, near by.   There is almost never an “adaptive” store around so if you forget, lose or break the needed widget, using regular items means what you can run out and get one.

Before I get started, a little about me, not that you care, but hell this IS my page after all.

My story of becoming an amp started back on June 8th of 2013 I had a motorcycle wreck. Going in to a left hand turn at about 45-50 mph the kickstand on my chopper deployed.  I couldn’t make the turn and I hit the guardrail.  I was thrown, and hit the vertical support post of the guardrail with my shoulder, ripping my right arm from my body and whipping me around.  That broke my femur in to places, fractured 4 ribs, lacerated my liver, gave me 6 stitches in my left, a huge bloody lip and 3 broken vertebrae in my neck.  Yes I can actually say that becoming an amp was a pain in the neck..  badump bump..

So lets begin, shall we?

You’ll find my articles on the left side of the page listed under How-Tos.

20150802_182707